Order by 3 PM CT for Same-Day Free Shipping (Lower 48 | Mon-Fri)

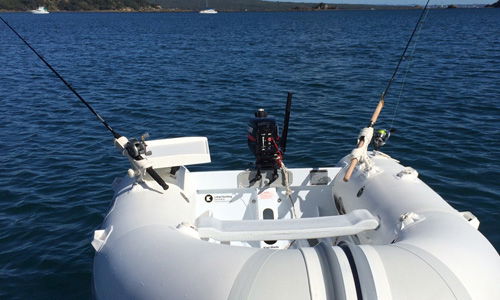
Now you can fit accessories like rod holders, bait boards, fish finders and more to RIB or Inflatable boats and kayaks without hassle or messy glues. The new 3M VHB pad allows you to peel and stick the RIBPort mount, then fit any of your favorite RAILBLAZA accessories. The 3M VHB is now supplied with every RIBPort pack.
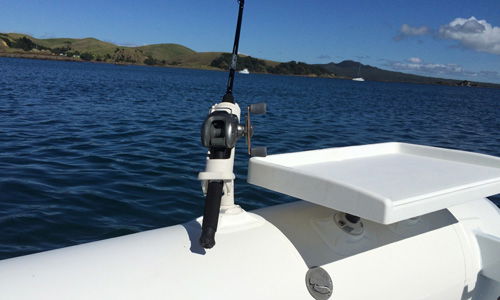
You no longer need a specialised outfitter, or to work with messy glues to install accessories to your RIB or Inflatable, with the RIBPort VHB pad you can install in the comfort of your own garage following the below instructions. Our team have run extensive trials on Hypalon, PVC & Polyethlene inflatable craft and also recommend the VHB pad for use on epoxy SUP’s or surfboards.
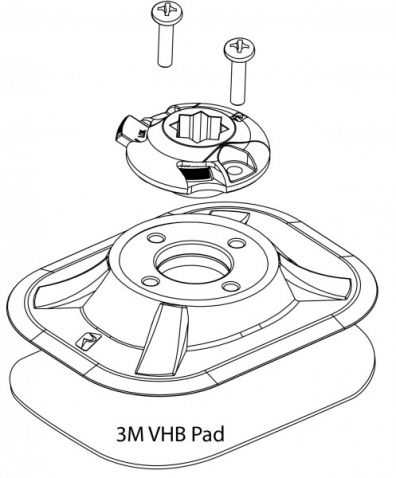
The RAILBLAZA RIBPort can be mounted to any surface with no gluing or drilling required. Simply prepare the area as per the following instructions then peel the backing paper and stick it.
Tools required:
Please note The following instructions must be followed carefully to ensure you get the best possible bond from the 3M VHB adhesive.
NOTE: The Vessel must be fully inflated before installing RIBPort.
1. Mark the surface where you want to mount the RIBPort using a pencil or masking tape.
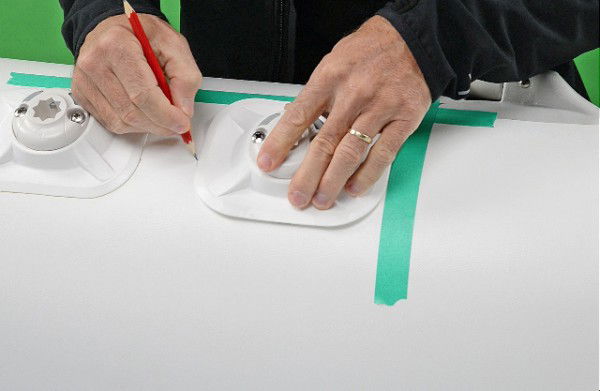
2. Using the abrasive pad supplied scrub the surface where the RIBPort is to be mounted.
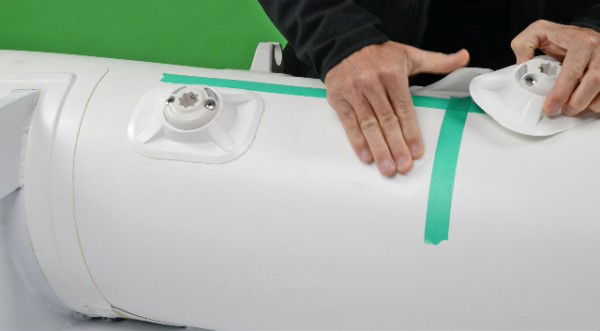
3. Using the alcohol swabs supplied carefully clean the surface where the RIBPort is to be mounted and the surface of the RIBPort.
4. Leave until both surfaces are dry.
5. Carefully peel the backing paper off one side of the VHB pad and stick the pad to the RIBPort ensuring the RIBPort is within the edges of the VHB pad.
6. Moving from the centre to the outside, Smooth the full surface with your fingers for at least 45 seconds to ensure a good bond.
7. Using a pair of sharp scissors (scissors are better for this application than a knife) trim around the edge of the RIBPort so the VHB is flush with the edge of the RIBPort.
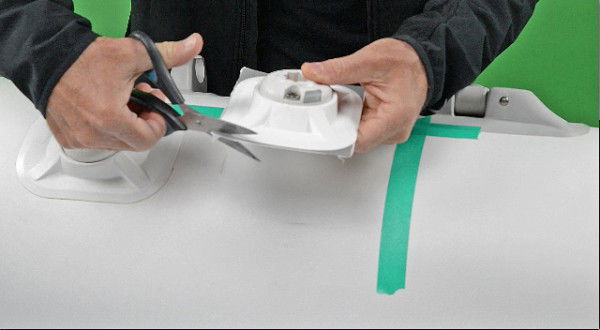
8. With a heat gun on low setting, gently heat around the StarPort side of the RIBPort until the edges become malleable. Please avoid directing the heat gun onto the VHB pad, and avoid overheating as this may damage the plastic.
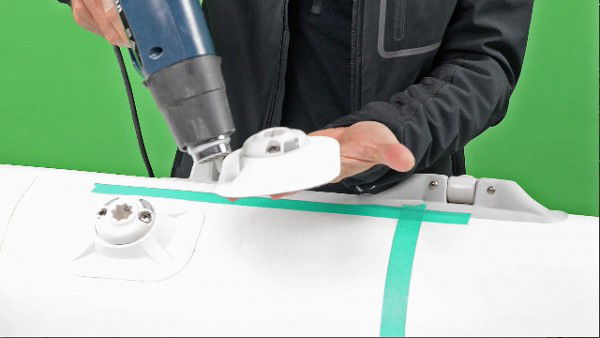
9. Peel the last layer of backing paper from the VHB and apply the RIBPort to the surface ensuring it is lined up with your marks. (Very important to get it correctly positioned on the marks “first time” as it will be very difficult to remove & reposition).
10. Push the centre of the RIBPort firmly to ensure the whole surface underneath is adhered, and any air bubbles are pressed out. Then smooth the surface around the edges of the RIBPort with your fingers. Make sure firm pressure is applied for at least 45 seconds.
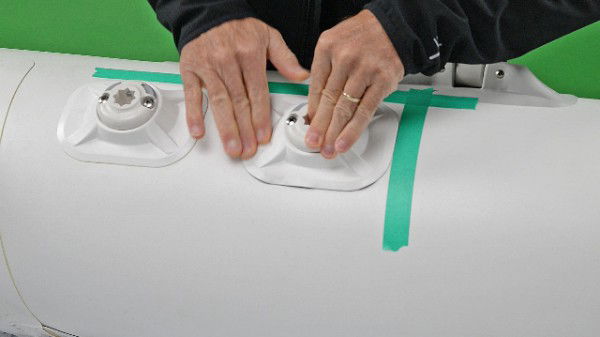
11. We recommend applying a weight to the top of the RIBPort and leaving it for up to 12 hrs.
Product information CURING TIMES:
Your RIBPort is now ready to receive RAILBLAZA accessories. Go forth and spread the word. RAILBLAZA is awesome stuff.
